Showing posts with label Heather. Show all posts

Wednesday, November 2, 2011

Cupcake Picks

I saw a picture online of some cute cupcake picks, but never made them up.  I printed out the picture, and I'm sad to say I don't remember where they came from so I can give due credit.  If these are yours, sorry!  They were too cute not to share.
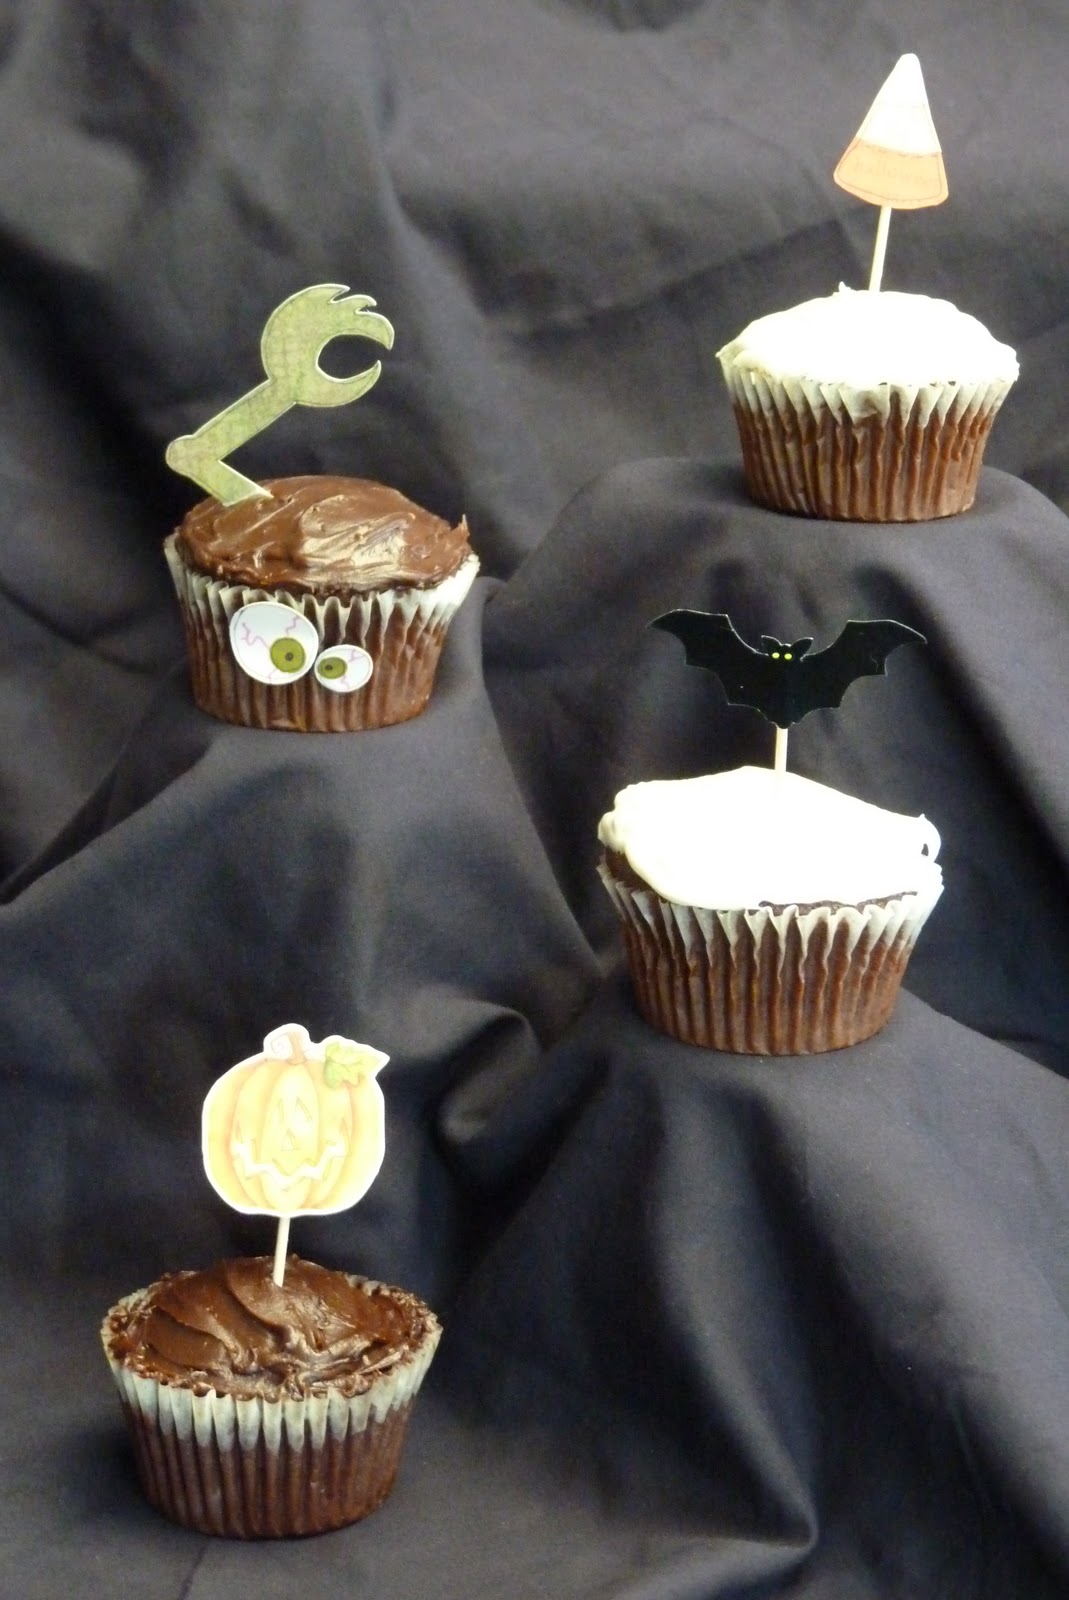
These first two are made from some Halloween stickers I had in my stash.  I simply stuck them to cardstock, cut them out, and attached a toothpick.  So simple, right?  If you were doing a lot for a party, this might be the way to go.  Stickers are a great alternative if you don't have a lot of time, and all the cute work is done for you!
Sorry the bat is so hard to see--should have used a lighter background.
This candy corn is so easy to re-create.  You could easily use a die cut, but I drew up this pattern. A triangle with rounded corners (pattern included). Cut two of the triangles, one for the base, and cut one apart to use as a pattern for the yellow and orange pieces. Layer and glue, add black pen lines, and add a toothpick to the back.
This little guy is my favorite!  I'm including a pattern for his arm.  The eyes are four circle punches of varying sizes.  The smallest of mine was a regular hole punch.  A few pink squggley lines, and some glue to hook the circles together, and you have crazy eyeballs!  They are attached right to the cupcake liner. I outlined each piece with a fine-tipped black pen to make them stand out.   The monster arm is stuck right into the cake.  My kids thought this was the best cupcake and were fighting over who got to eat the monster. Lol  Happy baking and crafting!
The Monster and Candy corn patterns are areon Heather's blog.  Here's the link!

Monster Boxes

I saw some little monsters like these on the front of Cricut Magazine this month and thought I would try my hand at them. 
I started with a bunch of die-cut gift bags in assorted colors.  I die-cut mine at the school where my husband teaches, but you could also find a pattern online, or use Cricut's Tags, Bags Boxes and More Cartridge, and I've also seen some plain white ones at the Dollar Store in their Party Favor/Wedding Favor section.  Any die-cut gift bag will work.
To attach wings or horns, I used my self-healing mat and exacto knife and cut slits along the front edges of the box just long enough to slide my cut pieces in.
This is what the wings look like attached from the inside of the box.
These are horns and wings. 
I'm including patterns for my horns, wings (2 types), bellies, teeth, and mouths.  I used a variety of carstock pattern paper, textured paper, and cardstock to cut these pieces with.  Just remember when cutting wings/horns that the stiffer carstock-type paper works best/  I used googly eyes of different sizes.  I found a bag at the dollar store that had 3 sizes in it of about 100 eyes.  Really the sky's the limit when creating these little monsters.  Alternate the pieces to create different looking monsters! 
Cyclops

Fuzzy paper and scalloped scissor circle (You could also use a flower punch)

Add a ribbon bow and eyelashes to create a girl monster.  I also turned the horns upside down.

Velvet paper

Textured paper

Mulberry paper
These would be great for a kid's school class party filled with treats.  I'm going to use mine for my Halloween Piano Group treat! (They loved them, by the way.)  Happy Crafting, and get creative!

The patterns for wings, teeth, bellies, etc. are on Heather's blog.  Click the link below to get to them!
http://smallfryandco.blogspot.com/2011/10/little-monster-bags.html

You Might Also Like

Related Posts Plugin for WordPress, Blogger...